
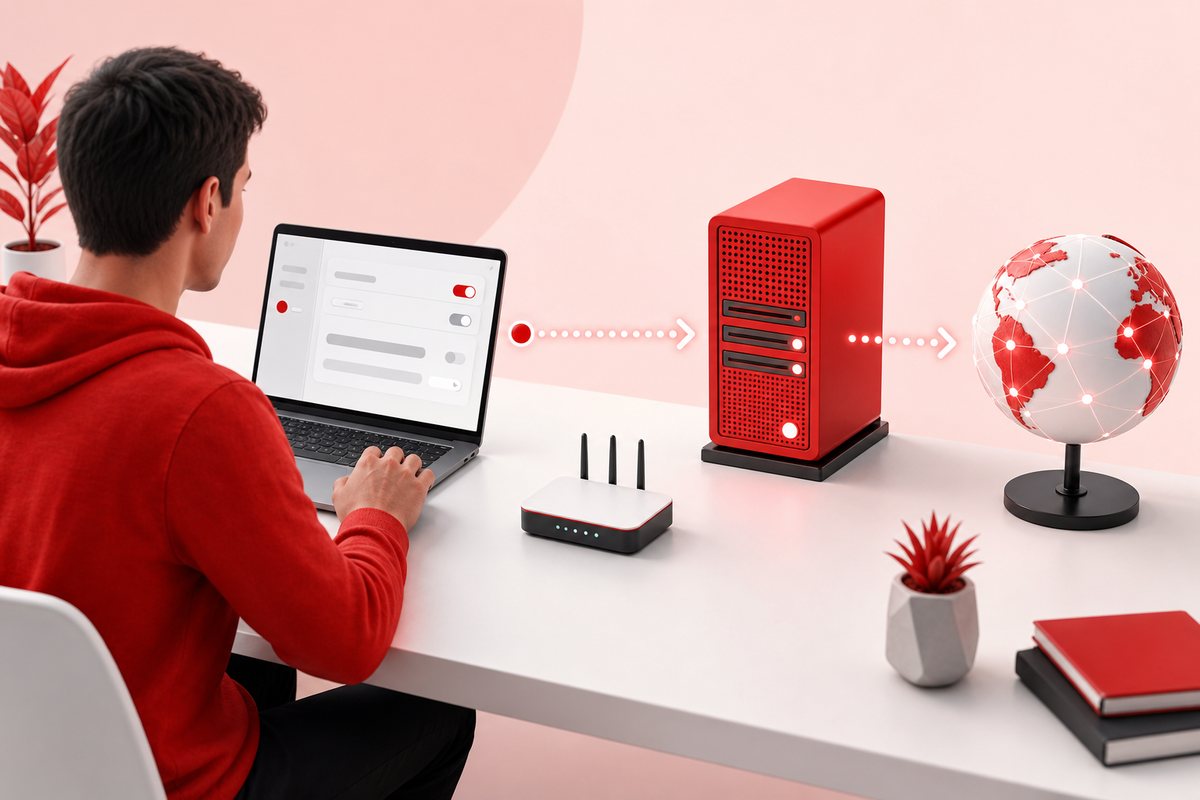
To use a proxy, collect the proxy host, port, protocol, and authentication method; configure those details in one browser or application; then compare a direct request with a proxied request. A successful first test should show the assigned exit address, complete a normal HTTPS request, and leave unrelated applications on their intended route. Start with one client and one neutral destination so a failure has only a few possible causes.
Scope: this beginner guide covers forward proxies that you explicitly configure in a browser, operating system, or command-line client. It does not turn a proxy into a device-wide VPN, guarantee anonymity, or make every application obey system settings. For app-specific instructions, use the Proxy Setup and Developer Guides hub.
Start by recording the proxy details
A proxy account is not just an IP address. Before opening any settings screen, write a small private connection card with the endpoint hostname or address, service port, protocol, authentication method, and intended location. Add an expiry date or allocation name if the provider supplies one. Do not include the password in a ticket, screenshot, shared document, or article draft.
| Field | Example placeholder | Why it matters |
|---|---|---|
| Host | proxy.example |
The client must reach this server before any website request can begin. |
| Port | 8080 |
One host can expose HTTP and SOCKS services on different ports. |
| Protocol | HTTP or SOCKS5 | The client’s handshake must match the service listening on the port. |
| Authentication | Credentials or approved source IP | The proxy must know the connection is authorized. |
| Location | Country or city allocation | The assigned exit should match the purpose of the test. |
Do not infer the protocol from a product name. A provider may describe an endpoint as “HTTP/HTTPS” because an HTTP proxy can carry HTTPS destinations through a tunnel. That is different from the transport used between the client and the proxy. If the labels are unclear, read the HTTP, HTTPS, and SOCKS5 comparison before trying random schemes.
Choose the smallest configuration scope
Configuration scope answers which traffic should use the proxy. A browser-only profile is a good first test because it is easy to open, close, and compare with a direct browser. An application setting is better when only a script or tool needs the route. An operating-system proxy can affect several compatible applications, but it is not a universal tunnel. Programs that open direct sockets, background services, games, and some command-line tools may ignore it.
Write the expected behavior before changing a setting: “Firefox uses the assigned proxy for HTTPS pages; the terminal remains direct.” This sentence is more useful than “turn the proxy on.” It tells you which client to test and which control should remain unchanged. If all device traffic must follow an encrypted gateway, evaluate a VPN or managed network route instead of assuming a browser proxy can do that job.
Browser setup: Firefox and Chromium behave differently
Firefox maintains its own connection settings. Open Settings, search for Network Settings, choose manual configuration, and enter the HTTP or SOCKS host and port that match the allocation. Mozilla’s official Firefox connection settings guide describes the available modes. When SOCKS5 is selected, decide whether destination names should be resolved through the proxy; then test that choice rather than relying on the checkbox label.
Chrome, Edge, and other Chromium browsers commonly open the operating-system proxy panel. That means a change can affect more than the current browser. On Windows, the official proxy server settings documentation separates automatic detection, setup scripts, and manual proxy configuration. Record the previous values before editing them, and keep local or corporate bypass entries only when they are required and understood.
Use a new browser profile for repeatable tests. Existing cookies, extensions, secure-DNS preferences, service workers, and signed-in accounts can change what a destination shows. A clean profile does not make the session anonymous; it simply reduces unrelated variables while you confirm the network route.
Add authentication without exposing the secret
A proxy can authorize a connection with a username and password, an approved source address, or another provider-specific method. A browser may display a credential prompt after the first request. A server or command-line tool usually needs credentials in its own protected configuration. Do not paste a password into a URL that will be stored in shell history, analytics, screenshots, or error logs.
IP allowlisting avoids distributing a password to a fixed server, but it works only while that server’s public source address matches the approved value. Home connections, mobile networks, cloud NAT gateways, and failover routes can change the observed address. The proxy authentication guide compares both methods and explains why an HTTP 407 response is different from a website login failure.
Use curl for command-line verification
curl is a useful control client because the proxy scheme is explicit and the response can be inspected without browser extensions. The official curl manual documents --proxy, --proxy-user, --socks5-hostname, timeouts, and verbose output. Start without credentials only when the endpoint permits it; otherwise use a protected prompt or environment mechanism approved for the machine.
curl --proxy http://proxy-host:8080 \
  --connect-timeout 10 \
  --max-time 30 \
  https://example.com/ -I
For SOCKS5 with proxy-side hostname resolution, curl supports the socks5h scheme:
curl --proxy socks5h://proxy.example:1080 \
  --connect-timeout 10 \
  https://example.com/ -I
These commands use reserved examples, not live credentials. A successful header request proves that this curl invocation reached the destination through the configured path. It does not prove the browser, DNS resolver, or another application uses the same path.
Verify the route in a fixed order
- Capture a direct baseline. Record the public address and whether the client used IPv4 or IPv6 before enabling the proxy.
- Reach the proxy. Distinguish connection refused, timeout, and name-resolution failures from authentication errors.
- Complete authentication. A 407 response means the HTTP proxy was reached but did not accept the supplied authorization.
- Check the exit. Use a neutral IP observation service you trust and compare the result with the assigned endpoint.
- Open one HTTPS destination. Keep certificate validation enabled and note the status code and timing.
- Test DNS and IPv6 separately. A changed HTTP exit alone does not describe every network path.
- Test the real authorized task at low volume. Confirm the destination behaves as expected before adding concurrency or retries.
Expected observation: the configured client reports the assigned proxy exit, completes an ordinary HTTPS request with normal certificate validation, and produces the same result after a fresh connection. A control client that was intentionally left direct should retain its original route.
Compare the configured browser with a control browser
Keep one clean browser profile direct while the test profile uses the proxy. Request the same neutral page in both, close both connections, and repeat. This side-by-side check catches a common beginner error: editing a system panel that the intended browser does not use, or leaving a bypass rule that excludes the test host. It also shows whether extensions, cached service workers, or secure-DNS settings are introducing a second variable.
Do not compare a signed-in personalized page with a signed-out control and call the difference a network result. Keep account state, language, viewport, destination, and time window aligned. Save the observed exit and status, not a screenshot containing proxy credentials. A small, controlled comparison is more persuasive than ten unrelated IP-check tabs.
Understand mobile and system limits
Android and iPhone Wi-Fi proxy settings generally belong to one saved wireless network. They do not automatically cover cellular data, every VPN-aware application, or apps that ignore the operating-system HTTP proxy. Authentication prompts can also behave differently from desktop browsers. Use the dedicated Android and iPhone proxy setup guide when the phone is the actual client.
System proxy settings also need a clean removal plan. Save the original automatic configuration, manual address, port, and bypass list. After the test, disable the manual proxy and confirm direct browsing returns. An unreachable proxy left enabled can look like a general internet outage, while a forgotten bypass can quietly send a sensitive internal hostname to the wrong resolver.
Use this first troubleshooting sequence
When the first request fails, change one variable at a time. Begin with the host and port, then protocol, authentication, exit check, DNS behavior, and destination response. Do not rotate endpoints while diagnosing credentials; doing so creates several possible causes for every result.
| Signal | Likely layer | Next action |
|---|---|---|
| Name cannot be resolved | Proxy host or local DNS | Confirm the endpoint spelling and resolve it directly. |
| Connection refused | Host, port, listener, or firewall | Verify the allocated port and source-network rules. |
| Timeout before response | Route, firewall, or overloaded endpoint | Test reachability with a fixed timeout and one endpoint. |
| HTTP 407 | Proxy authentication | Check the expected method, username, password, or approved source IP. |
| TLS certificate error | Destination validation or interception | Do not disable verification; inspect the certificate and policy. |
| IP unchanged | Client ignored the setting or bypassed the proxy | Confirm the exact application configuration and bypass list. |
The broader proxy error troubleshooting guide continues this sequence without treating every destination denial as a broken proxy. A 403 or 429 from a website can mean the proxy connection worked and the destination declined the request.
Keep the first workflow small and recoverable
Use the minimum access required, keep retries bounded, and redact secrets from verbose output. Do not disable TLS checks, browser security controls, or destination safeguards to make a test turn green. Record the client version, proxy protocol, endpoint label, time, destination, observed exit, and error class. That evidence makes support useful without publishing sensitive data.
Operational limit: a proxy changes the route of supported traffic; it does not grant permission, erase account history, defeat rate limits, or guarantee privacy. Use it only for traffic you are authorized to send and follow destination terms, robots directives where applicable, and applicable law.
Choose a plan only after the acceptance test is defined
List the required protocol, authentication method, location, number of stable endpoints, expected traffic, and support needs before purchase. If the task needs a dedicated, repeatable application exit, compare current private proxy options with that acceptance test. Buying more addresses will not fix a client that uses the wrong scheme or ignores its configuration.
Frequently asked questions
How do I know the proxy is really active?
Compare a direct baseline with a proxied request from the same client. The assigned exit should appear, the HTTPS request should succeed normally, and the result should repeat after reconnecting.
Why does Chrome open Windows proxy settings?
Chromium browsers commonly use the operating-system proxy configuration. A change there can affect other compatible applications, so record and restore the original settings.
Can one proxy setting cover every app?
No. Applications can use system settings, their own proxy field, environment variables, a library-specific option, or direct sockets. Test each client that matters.
Should I start with HTTP or SOCKS5?
Start with the protocol explicitly supported by both the endpoint and the application. For ordinary web clients, HTTP proxy support is often straightforward; SOCKS5 is useful when the client supports its broader relay model.
Is a changed IP enough evidence?
It proves one tested request used a different observed exit. DNS, IPv6, WebRTC, background services, and other applications still require separate checks.